

My t-shirt pattern is coming together. I'm going to share the size 4T pattern (free) for anyone that is interested.
When my pattern is all finished, it will have sizes 2T-12 years.
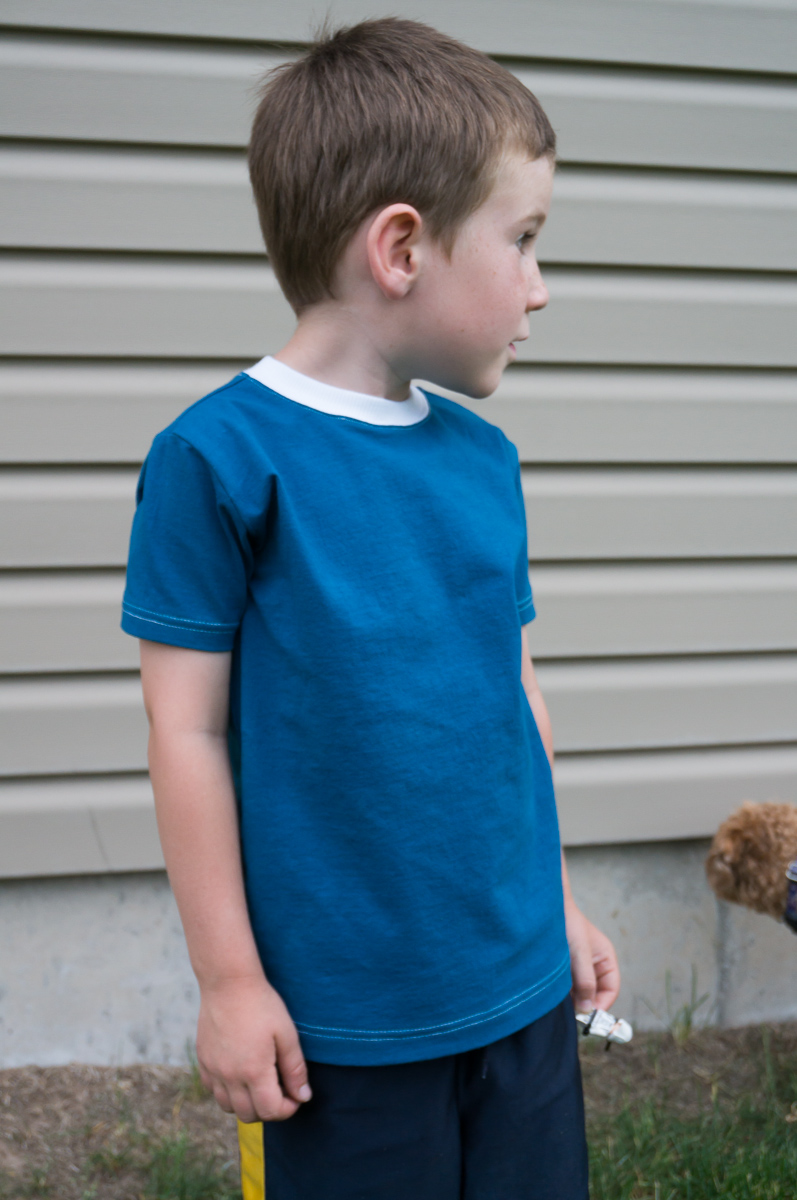
This is a pattern for a basic t-shirt (with or without a front pocket), and it would work for a boy or a girl. Since I only have boys, you will get pictures of boy shirts!

Here we go.
Materials:
About 1 yard of knit fabric, such as jersey. I prefer some with a small amount of spandex content. I used fabric from girlcharlee.com.
A small amount of contrasting fabric, such as ribbing, for the collar. (You can also use the same fabric as the main fabric for the collar if you prefer.)
Optional:
A small amount of 1/4" clear elastic to stabilize the shoulder seams.
**I will be giving instructions for using a serger, but you can easily use your sewing machine instead. For tips on sewing knit fabric on a regular sewing machine, click here. You can follow the tips on that post if you don't have a serger. You will also find some suggested tools to use to sew knits on a sewing machine.
Pattern Assembly:
Children's t-shirt pattern Size 4T
Click the link above to download and print the pattern pieces. Follow the instructions at the beginning of the pattern to put the pieces together before cutting them out.
Cutting Instructions:
Fold fabric with right sides together, selvage to selvage.

Cut pieces with the grain arrow parallel to the selvage.
Cut one front piece on the fold, one back piece on the fold, and two sleeves. We will cut the collar piece later.
Assembly:
**All seam allowances are 1/2". Press all seams after joining.
Front Pocket
**If not using the pocket, skip the front pocket steps.
1. Fold pocket facing down one inch toward the front of the shirt, so right sides are together.

2. Sew the outer edges of the pocket facing and the pocket together (using 1/2" seam allowance).


3. Clip corners and trim seam allowances.

4. Flip facing so right side is out. Gently poke corners until they are crisp. Press facing. Press the other sides of the pocket in 1/2".
 |
| Front |
 |
| Back |
5. Sew or coverstitch facing down by sewing across pocket, about 1" from the top.

6. Pin pocket to shirt front, using the pocket placement mark on the pattern as a guide.

7. Sew or coverstitch the pocket to the shirt. Press the whole pocket.

Shoulder Seams
1. With right sides together, pin shoulder seams together.

2. Serge the shoulder seams. Press seams toward the back of the shirt.

Note: You can serge 1/4" clear elastic into the seam as you serge it. This will give the seam better recovery. Don't stretch the elastic as you serge it. If you are using a sewing machine, you can sew the elastic in as you sew the seam.

Collar
1. Cut a strip of fabric (from either a contrasting fabric or your main fabric) that is 2 1/2" wide and 10" long.
The long part of the strip should be perpendicular to the selvage, because that is usually the direction of most stretch in the fabric. You need the length of the strip to stretch so the collar will fit over your child's head.

2. Fold strip in half with right sides together and the short ends together. Serge the short ends of the strip together.

3. Press the seam to one side. Press the strip in half lengthwise, right sides facing out.

4. Mark the center back of your shirt. Lay the shirt out, right side up.
5. Pin collar to shirt with right sides together and the raw edges of the shirt and collar aligned.
First pin the collar seam to the center back of the shirt. Then gently pull the collar and shirt until they are the same length and pin in the front. Gently pull again and pin one side. Repeat for the other side.
Now your collar is quartered to the shirt.

6. Baste the collar to the shirt 1/4" from the edge by using a long stitch length on a sewing machine.
Press the collar and make sure it looks how you want it to. A 10" long collar piece works perfectly for my size 4T t-shirts when I use ribbing. You may need to adjust the length of your collar piece if your fabric has more or less stretch.
If it looks too tight and there are puckers, cut a new collar piece a couple of inches longer and repeat the collar steps.
7. Serge collar to shirt (using 1/2" seam allowance this time). Press seam allowance toward the bottom of the shirt.

8. Coverstitch or topstitch the seam allowance down just below the collar.

Sleeves
(Complete steps for both sleeves)
1. Lay shirt out, right side up. Mark the center of the sleeve. Pin the center of sleeve to the shoulder seam, right sides together. Pin the edges of the sleeve to the edges of the shirt.

2. Serge sleeve to shirt. Press seams toward bottom of sleeve.


Side Seams
1. Pin the side seams and sleeves, right sides together.

2. Serge side seams and sleeves in one continuous line from the ends of the sleeves, past the armpit, and all the way to the bottom. Press seams toward back of shirt.

Sleeve Hems
(Repeat this step for both sleeves)
1. With shirt wrong side out, press the edge of the sleeve under 1", wrong sides together. Coverstitch or sew the hem down just under 1" from the edge so you can be sure you catch both pieces of fabric. Press.

Bottom Hem
1. With shirt wrong side out, press the bottom of the shirt under 1", wrong sides together. Coverstitch or sew the hem down just under 1" from the edge so you can be sure you catch both pieces of fabric. Press.

You are finished!

I hope you enjoy the pattern. If you have any questions, please ask!

This looks awesome! I know it takes a lot of time to write up a comprehensive tutorial, so thank you!
ReplyDeleteBryanna, you are awesome and I love what you are making!. Thank you for inspiring me to be passionate about things in my life, and thank you for being so kind. xoxoxo Here's to hoping we meet up in person again sometime in the not too distant future. :)
ReplyDeleteI sent your articles links to all my contacts and they all adore it including me.
ReplyDeleteFreebies
Thank you for sharing the information, Quality content is important in order to hold the readers’ attention and win their approval.
ReplyDelete